| Lesson 10 | Windows Setup GUI for Network Installation |
| Objective | Use the Setup GUI to install networking components for Windows. |
Windows Setup GUI and Install Networking
Use the Setup GUI to install Networking Components on Windows 10 operating system
To use the Setup GUI to install networking components on Windows 10, follow these steps:
You should now be able to use the newly installed networking components on your Windows 10 system.
- Click on the Start menu button and type "Control Panel" in the search bar. Click on the Control Panel app that appears in the results.
- In the Control Panel, click on "Network and Sharing Center".
- On the left-hand side of the screen, click on "Change adapter settings".
- Right-click on the network adapter you want to configure and select "Properties" from the context menu.
- In the Properties dialog box, click on the "Install" button.
- Select "Protocol" from the list of options and click on the "Add" button.
- Select the protocol you want to install (for example, TCP/IP) and click on the "OK" button.
- Follow the prompts to complete the installation process.
- Once the protocol is installed, you may need to configure it by selecting it in the Properties dialog box and clicking on the "Properties" button.
- Repeat these steps for any other network adapters or protocols you want to install.
You should now be able to use the newly installed networking components on your Windows 10 system.
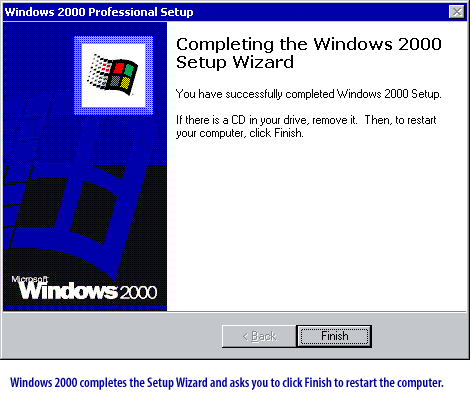
After the text mode of Setup completes, you move into the GUI phase of Setup.
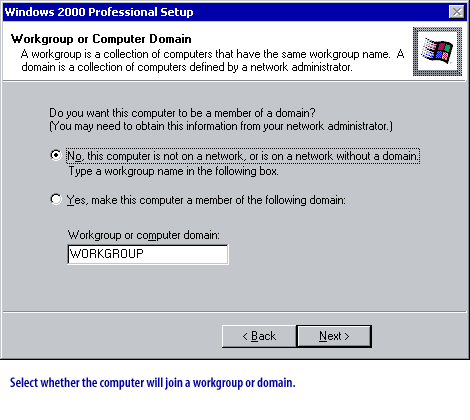
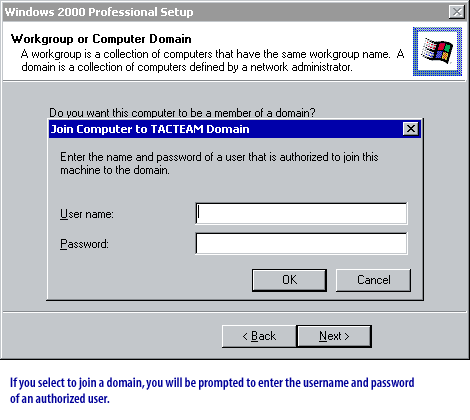
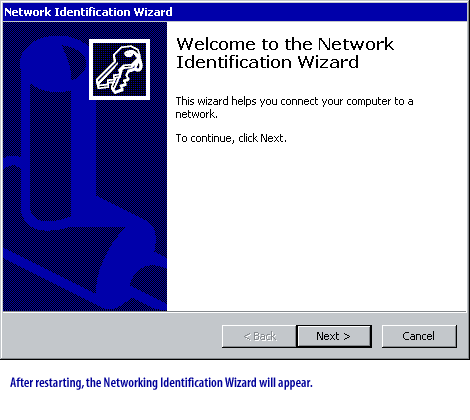
Here you will make decisions about which network components to install, the name of the computer, and whether the computer will participate in a workgroup or domain.
The second part of the GUI portion installs networking components
Here you will make decisions about which network components to install, the name of the computer, and whether the computer will participate in a workgroup or domain.
The second part of the GUI portion installs networking components
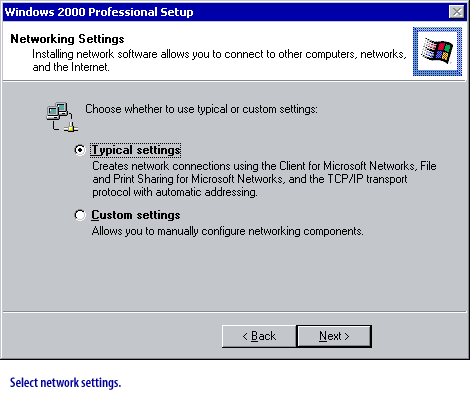
The Network Setting
Windows allows for two types of network settings, Typical and Custom, which are described in the following table.
| Setting | Description |
| Typical | Installs Client for Microsoft Networks, File and Printer Sharing for Microsoft Networks, and Transmission Control Protocol/Internet Protocol (TCP/IP). |
| Custom | Creates custom network connections: for example, configuring a static IP address, configuring the computer as a WINS client, or adding NetBIOS Enhanced User Interface (NetBEUI). You should also choose the Custom option if you need to configure the Windows computer to be a client or gateway to a Novell NetWare server. |

Starting from the beginning
Now that you have seen all of the installation components, practice proceeding through the entire process of installing
Windows Server in the following Simulation:
Installing Windows Text Mode
Installing Windows Text Mode
Windows Setup Wizard Exercise
Click the links below to apply your knowledge about the installation process in a Problem Solver exercise.
Windows Setup Wizard - Exercise
Windows Setup Wizard - Exercise