Advanced options Feature
Choosing from standard colour schemes
Open the 'Start ' menu by clicking on the 'Start' button or by pressing the 'Windows' logo key
(located between the 'Ctrl' + 'Alt 'keys on most keyboards) alternatively press 'Ctrl ' + 'Esc'.
Click on 'Control Panel' or press 'C' until 'Control Panel' is selected and then press 'Enter' if necessary.
Note: in earlier versions of XP you will need to click on 'Settings' or press the letter 'S' on the keyboard first.
If you see the text 'Pick a category' as the main title on the page and under the Control Panel title you can see 'Switch to Classic View' you need to click the 'Switch to Classic View'
(you are currently in 'Category View') by clicking on the link or by pressing tab until the 'Switch to Classic View' is selected and then press 'Enter'.
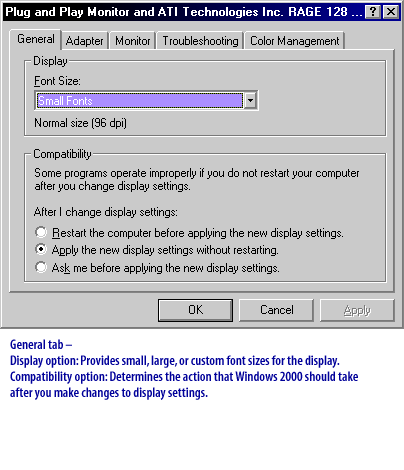
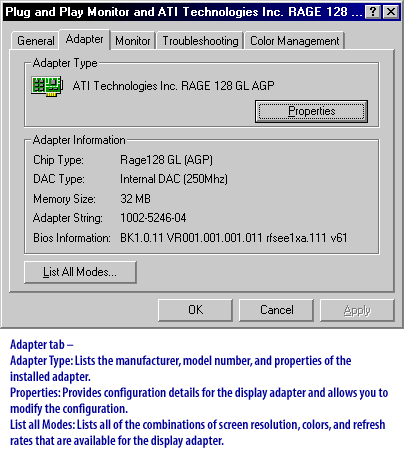
Properties: Provides configuration details for the display adpater and allows you to modify the configuration.
